
DIY: Sage Green Tile Cube

Sage green is most definitely one of the “it” color of 2021 and I could not be more excited. Top it off with the internet’s obsession with tiling and my DIY heart is fluttering. I could not be more excited to share with you my 2 AM Home Depot next-day delivery impulse purchase: the sage green tile cube (or rather, the deconstructed version of it). Best of all, you’ll learn some contracting skills that might benefit you in the future of home-owning/improvement (:
You’ll Need:
something to tile. you can be the DIY queen and build a vessel from scratch but because I have zero woodworking skills/resources, I opted for this cube from Amazon. There are also a ton of great/cheaper/probably lighter items from IKEA if one is accessible to you. The best option is to find a consigned/vintage or current piece of furniture to flip into a hip tiled item.
a paint of choice. i went to my local hardware store and got a pint-sized sample amount and only needed half of the can.
a paint brush
10x 12”x12” ceramic tiles (this is the correct amount of the cube but this may differ depending on the object of choice)
1 gallon of ceramic tile adhesive
an adhesive spreader
sanded grout (i got 1lb and it only covered half the cube so the next amount that it comes in is 10 lb). this is your opportunity to add a little more pizzazz to your tile cube! i picked the bone shade for an off-white/softer/desert-bath house look, but i think that neon green, emerald green, black, or even an orangey-brown would be an excellent companion to the sage green.
a grout flooring float
a giant grout washing sponge
After you build your vessel of choice, you’re going to want to utilize whatever trader joes paper bag/newspapers you may have to protect your floor from the next steps. First, paint your tiles with sage green paint- I opted for three layers for a solid finish. Then, open the windows to introduce some ventilation and spread a thin layer of tile adhesive on all surface areas. I liked to do one side at a time, apply the tiles, and then proceed on to the next side. You may need to use scissors to split the tiles to fit open areas that the 12x12 tiles cannot fully cover. Allow 24 hours for the tile adhesive to dry.
To grout your cube, mix the grout with enough water to create a smooth peanut butter texture. I kept a cup of water nearby to add extra water to ensure consistency. With the flooring float, I pushed the grout into the cracks of the cube, taking care to really try to clean off the surface of the tiles when possible. This is important because anything leftover on the tiles will create a haze and may take a lot of sponging off to clean. Another tip is to rotate the cube so that the surface that you’re grouting on is the flat surface on top. This just makes it easier and protects your back (:
After 15-30 minutes of adding the grout, you’ll want to go back in with a sponge and a clean bucket of water and wipe off the tile. This may take several washes but is well worth revealing the sage green underneath.
I love my sage green tile as a side table or plant stand in the living room but can also picture it as a nice accompaniment to a giant floor mirror. If you have any extra pieces, turn them into a platter or coasters! People will be so impressed by your coordinated furniture and accessories. I’m obsessed with this accent piece and love that you can learn a skill or two along the way. Enjoy!
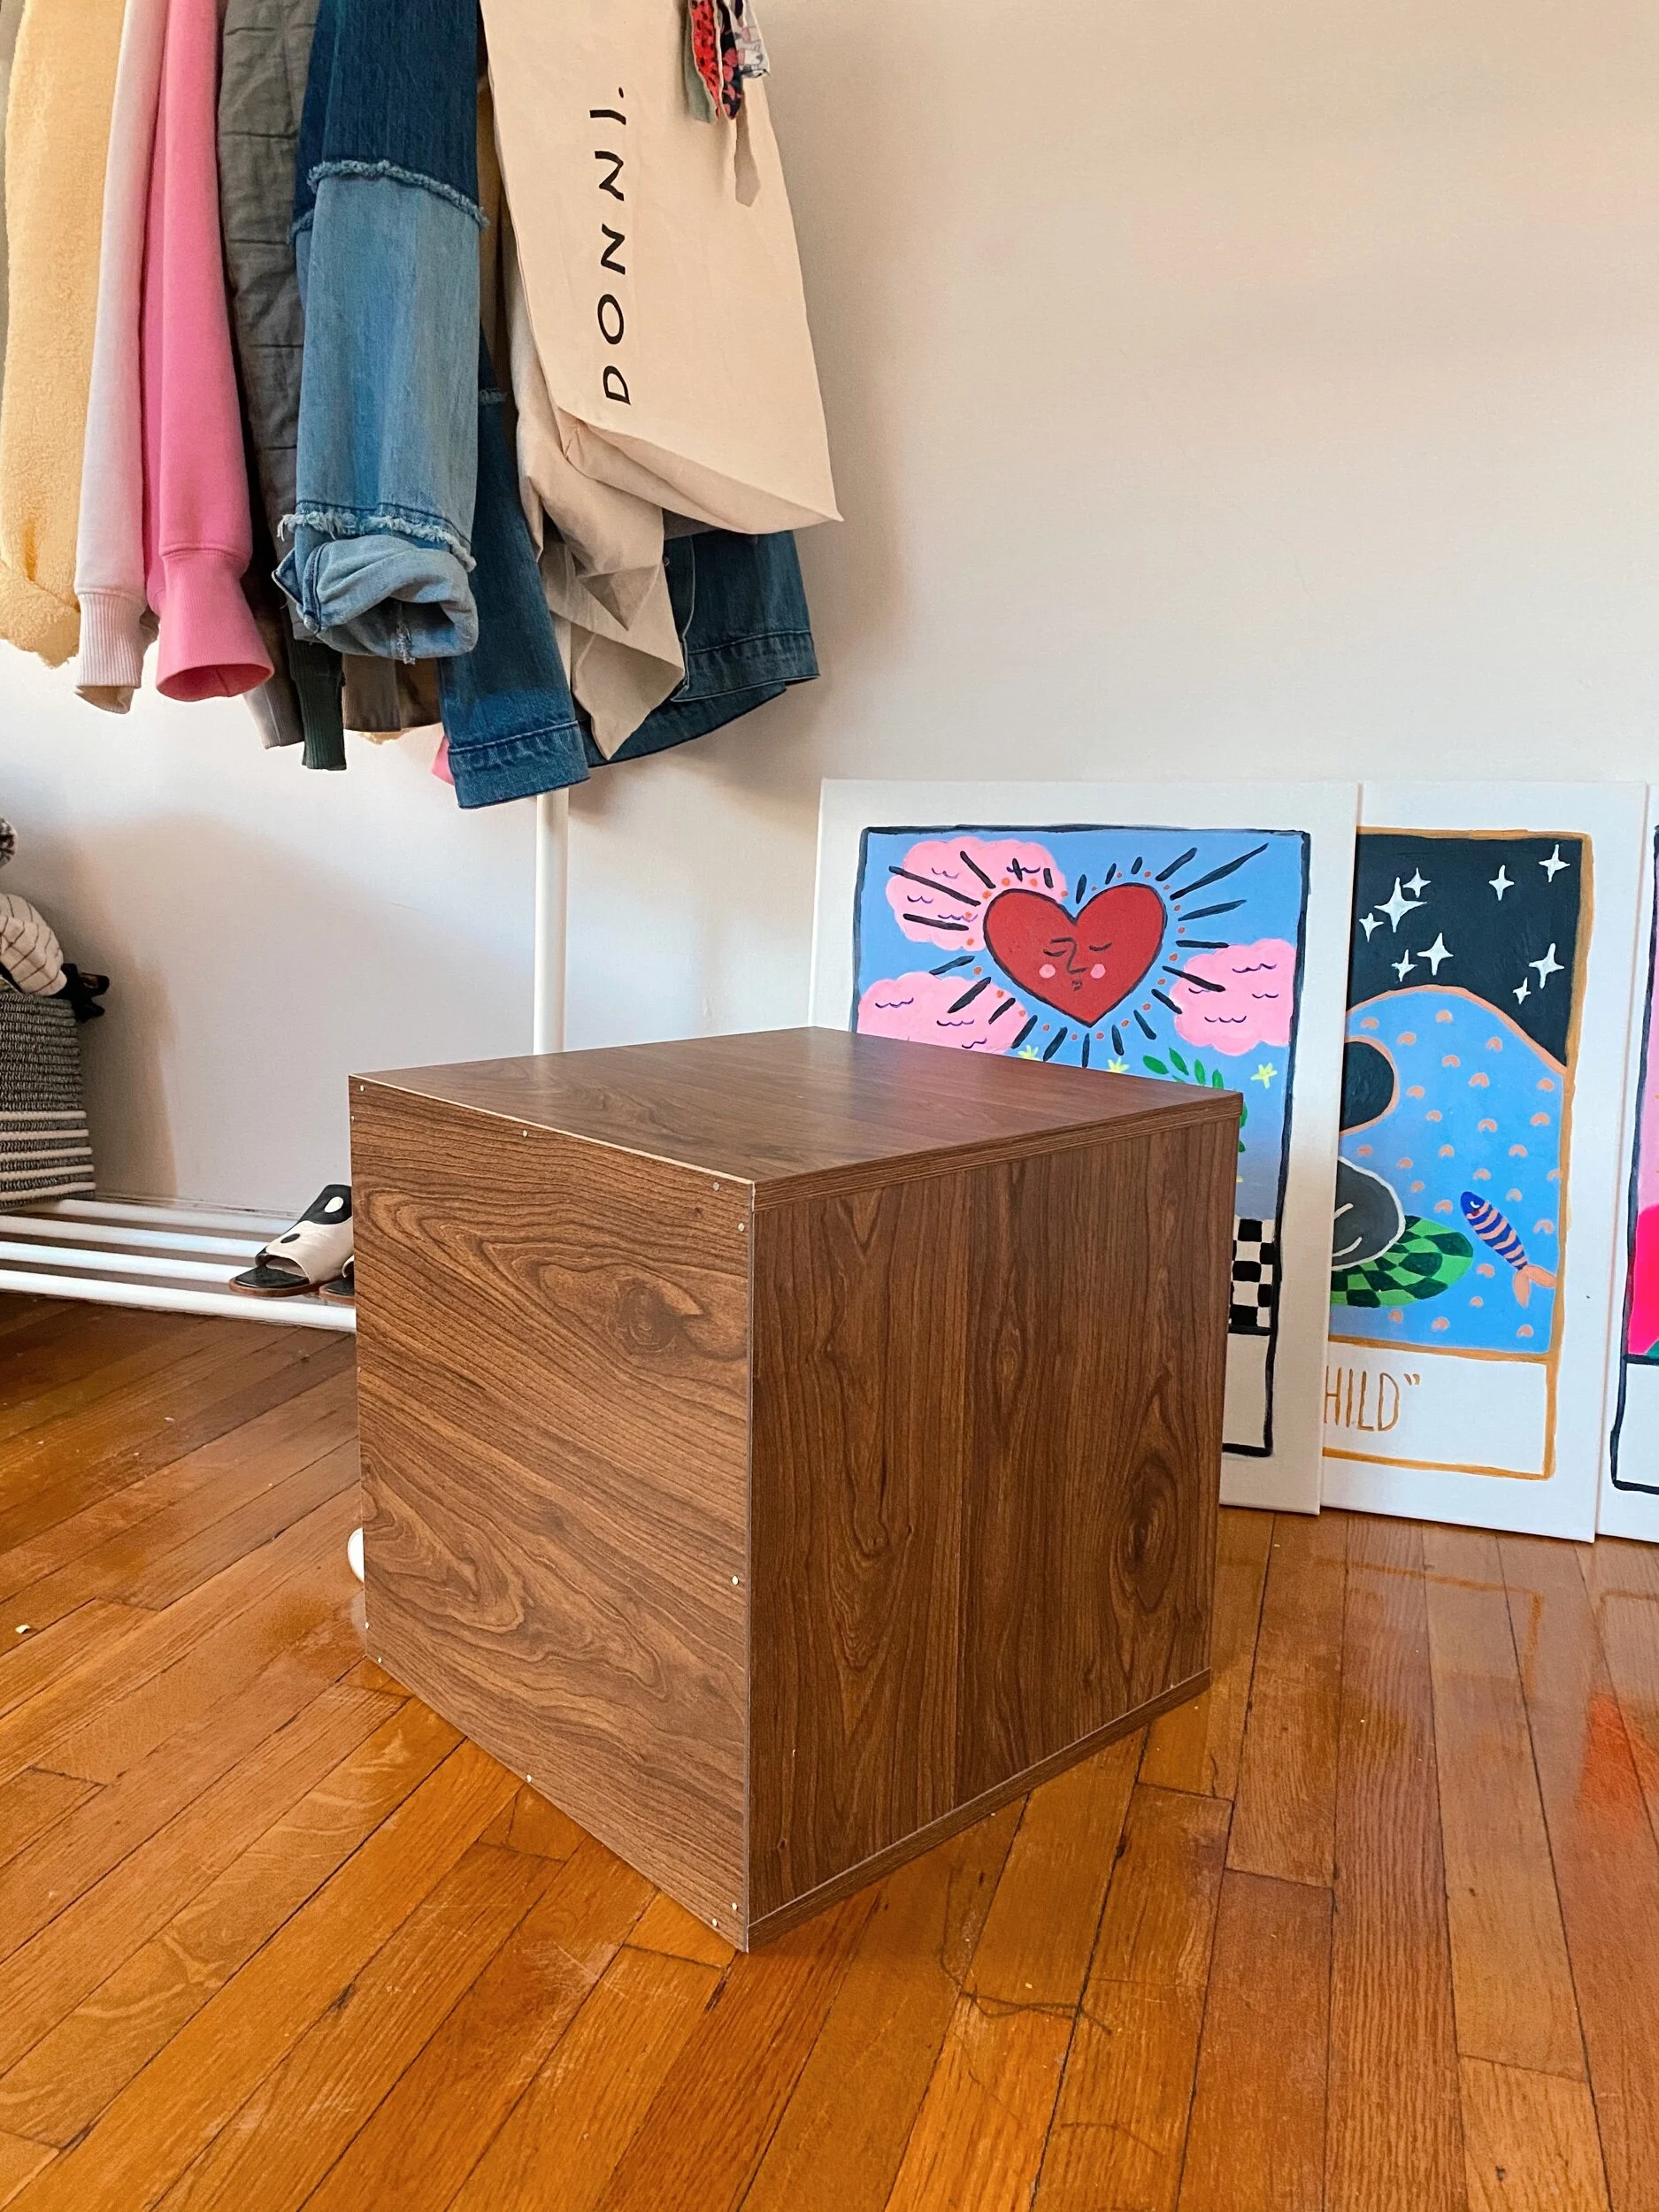
my wooden cube
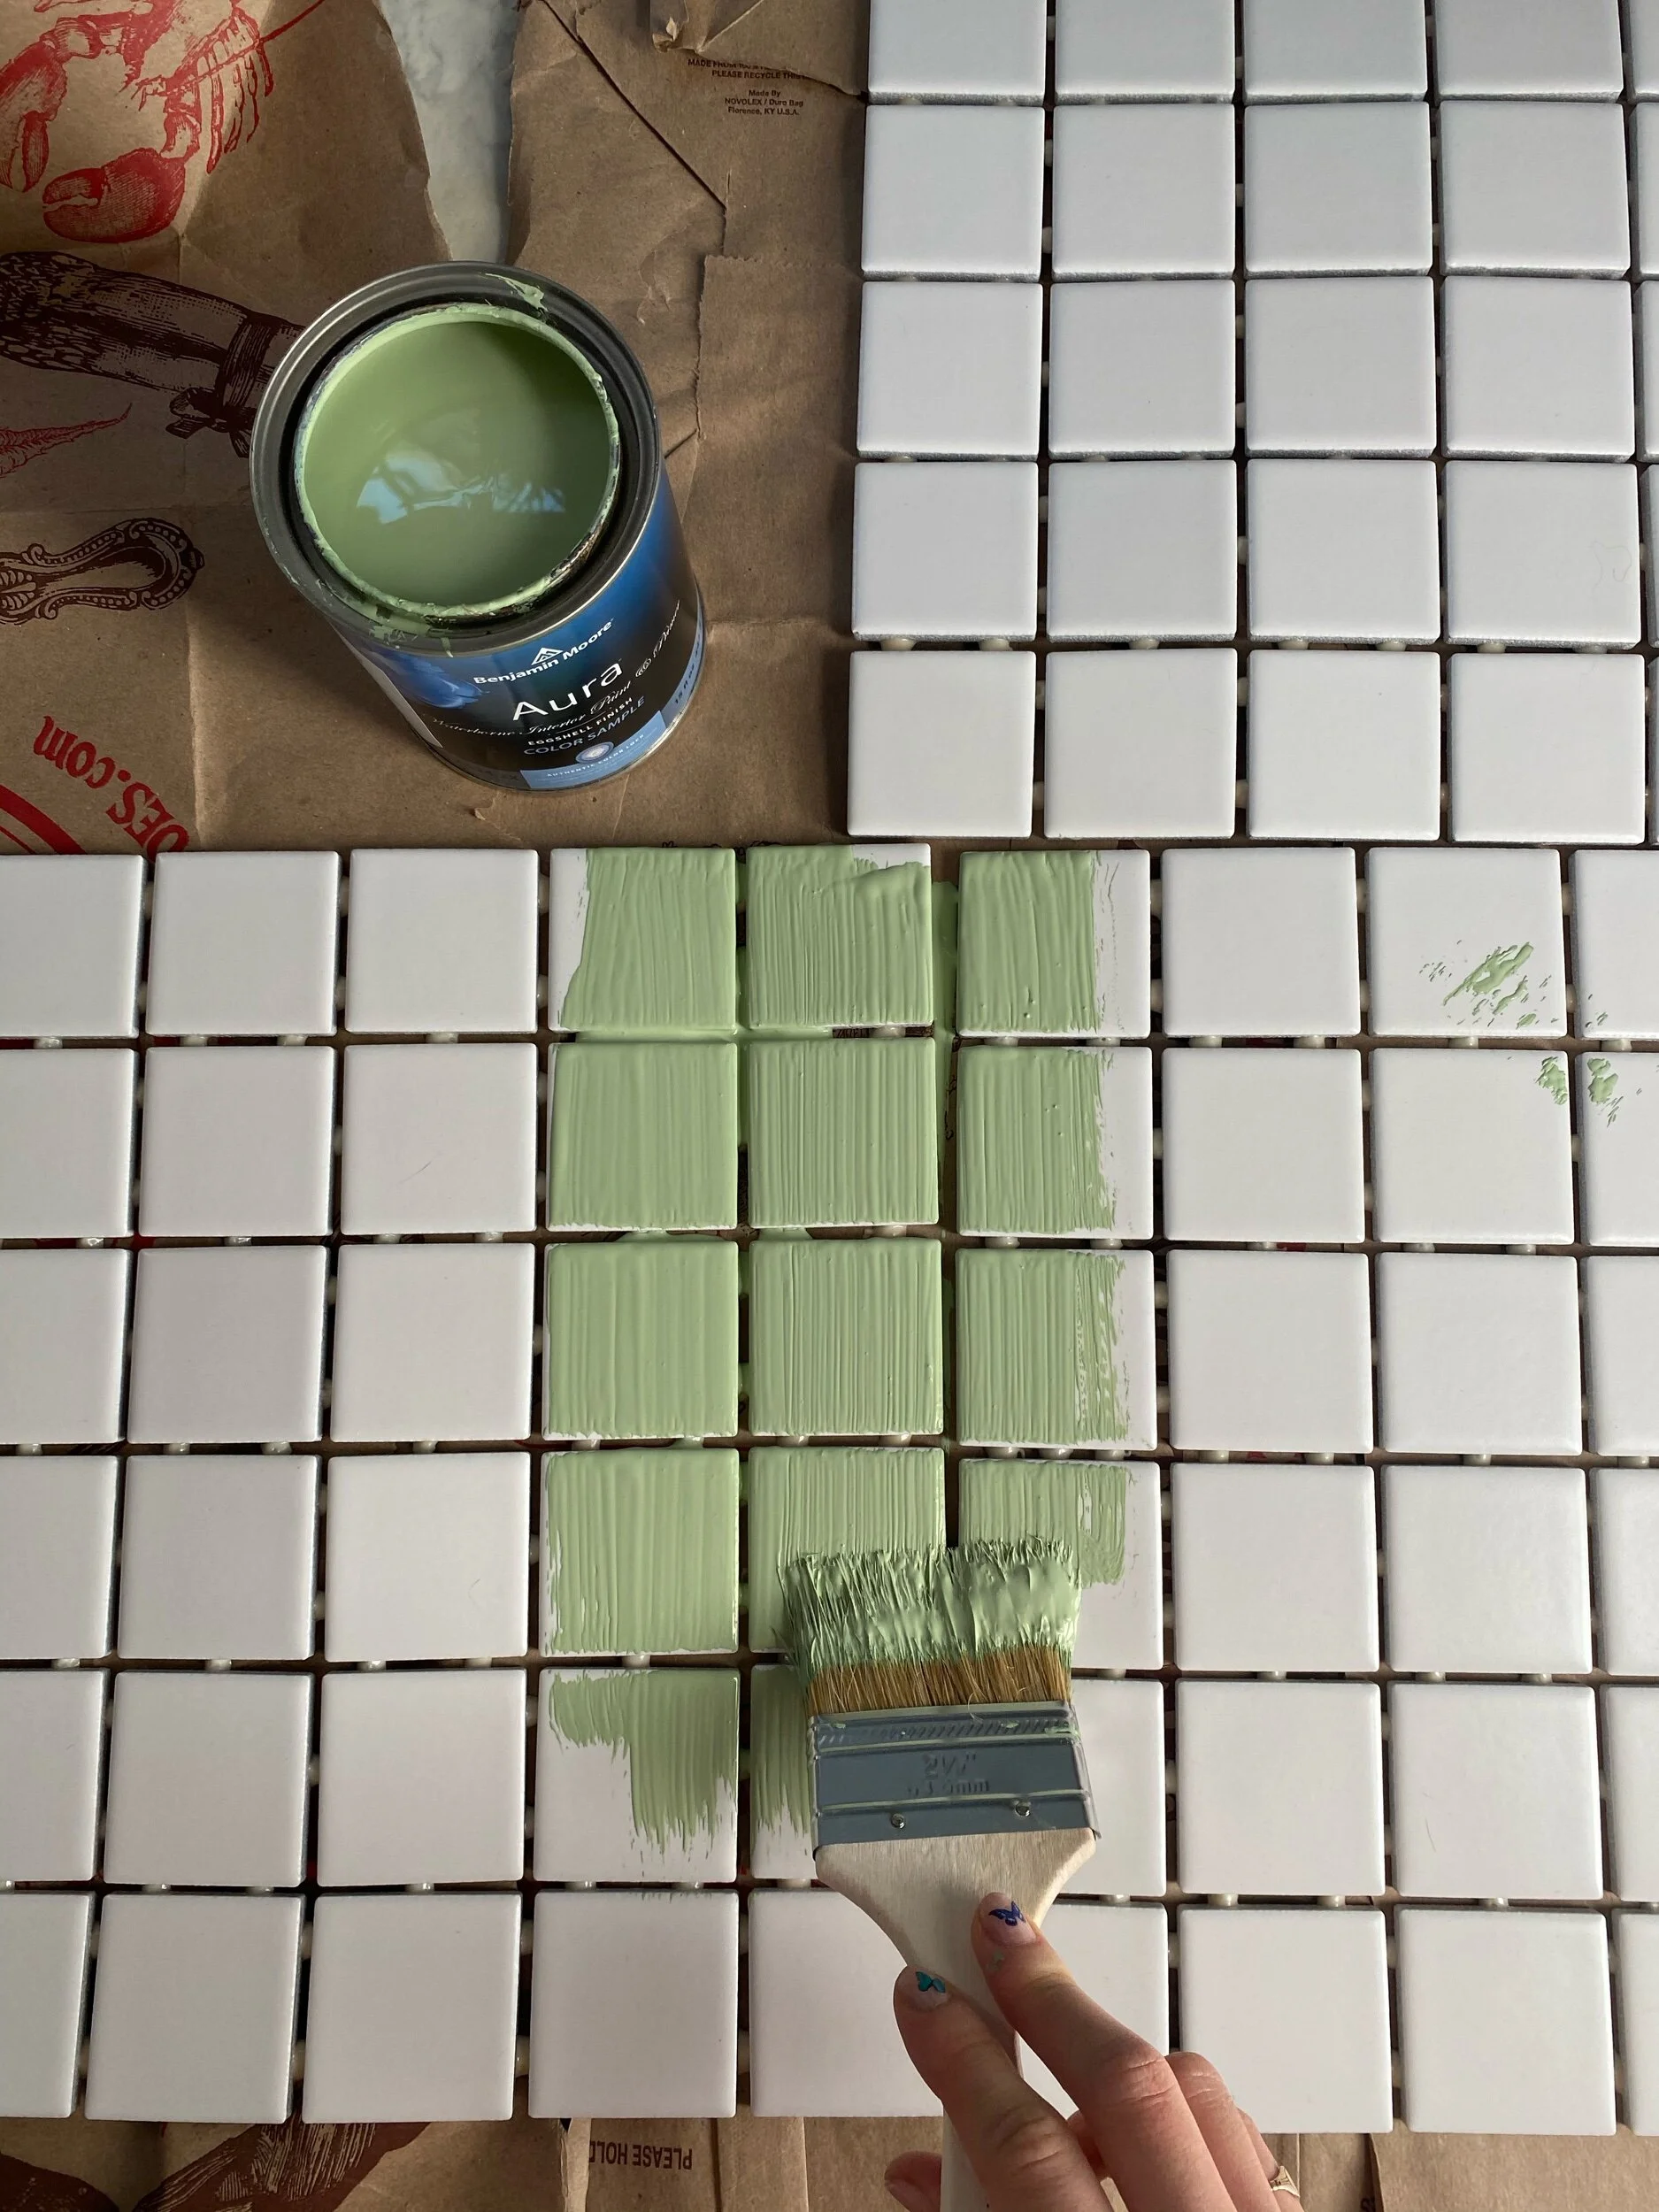
first layer of paint!

drying time (:

lots of excess grout here which will create a haze - try to push it off with the float before it dries!

extra tiles, no problem