
Cherry Hand Pies

I don’t know how to better capture the essence of summer than with little cherry hand pies. I was inclined to bake these cuties on a cold winter day to channel some strength and these do the trick. Perfect for someone who wants a little individual serving of pie, a lunchbox treat, or the perfect pair to a scoop of melty ice cream, these hand pies are little bundles of joy and so easy to execute.
For the pie dough, you will need:
1 3/4 cup all purpose flour
10 tablespoons of unsalted butter
1 tablespoon of sugar
1/2 teaspoon of salt
2 tablespoons of ice cold water

The essential tips to remember here are 1) work with cold ingredients, so work fast 2) do not overwork the dough as it creates gluten, so work fast but minimally.
Additionally, this can be done with a food processor but if you’re like me, a pair of clean hands will do just fine.
1. Combine the flour, sugar, and salt into a large mixing bowl
2. Cut the cold butter into 1/2 tablespoon slices
3. Very loosely combine the butter into the bowl, creating a crumbly texture

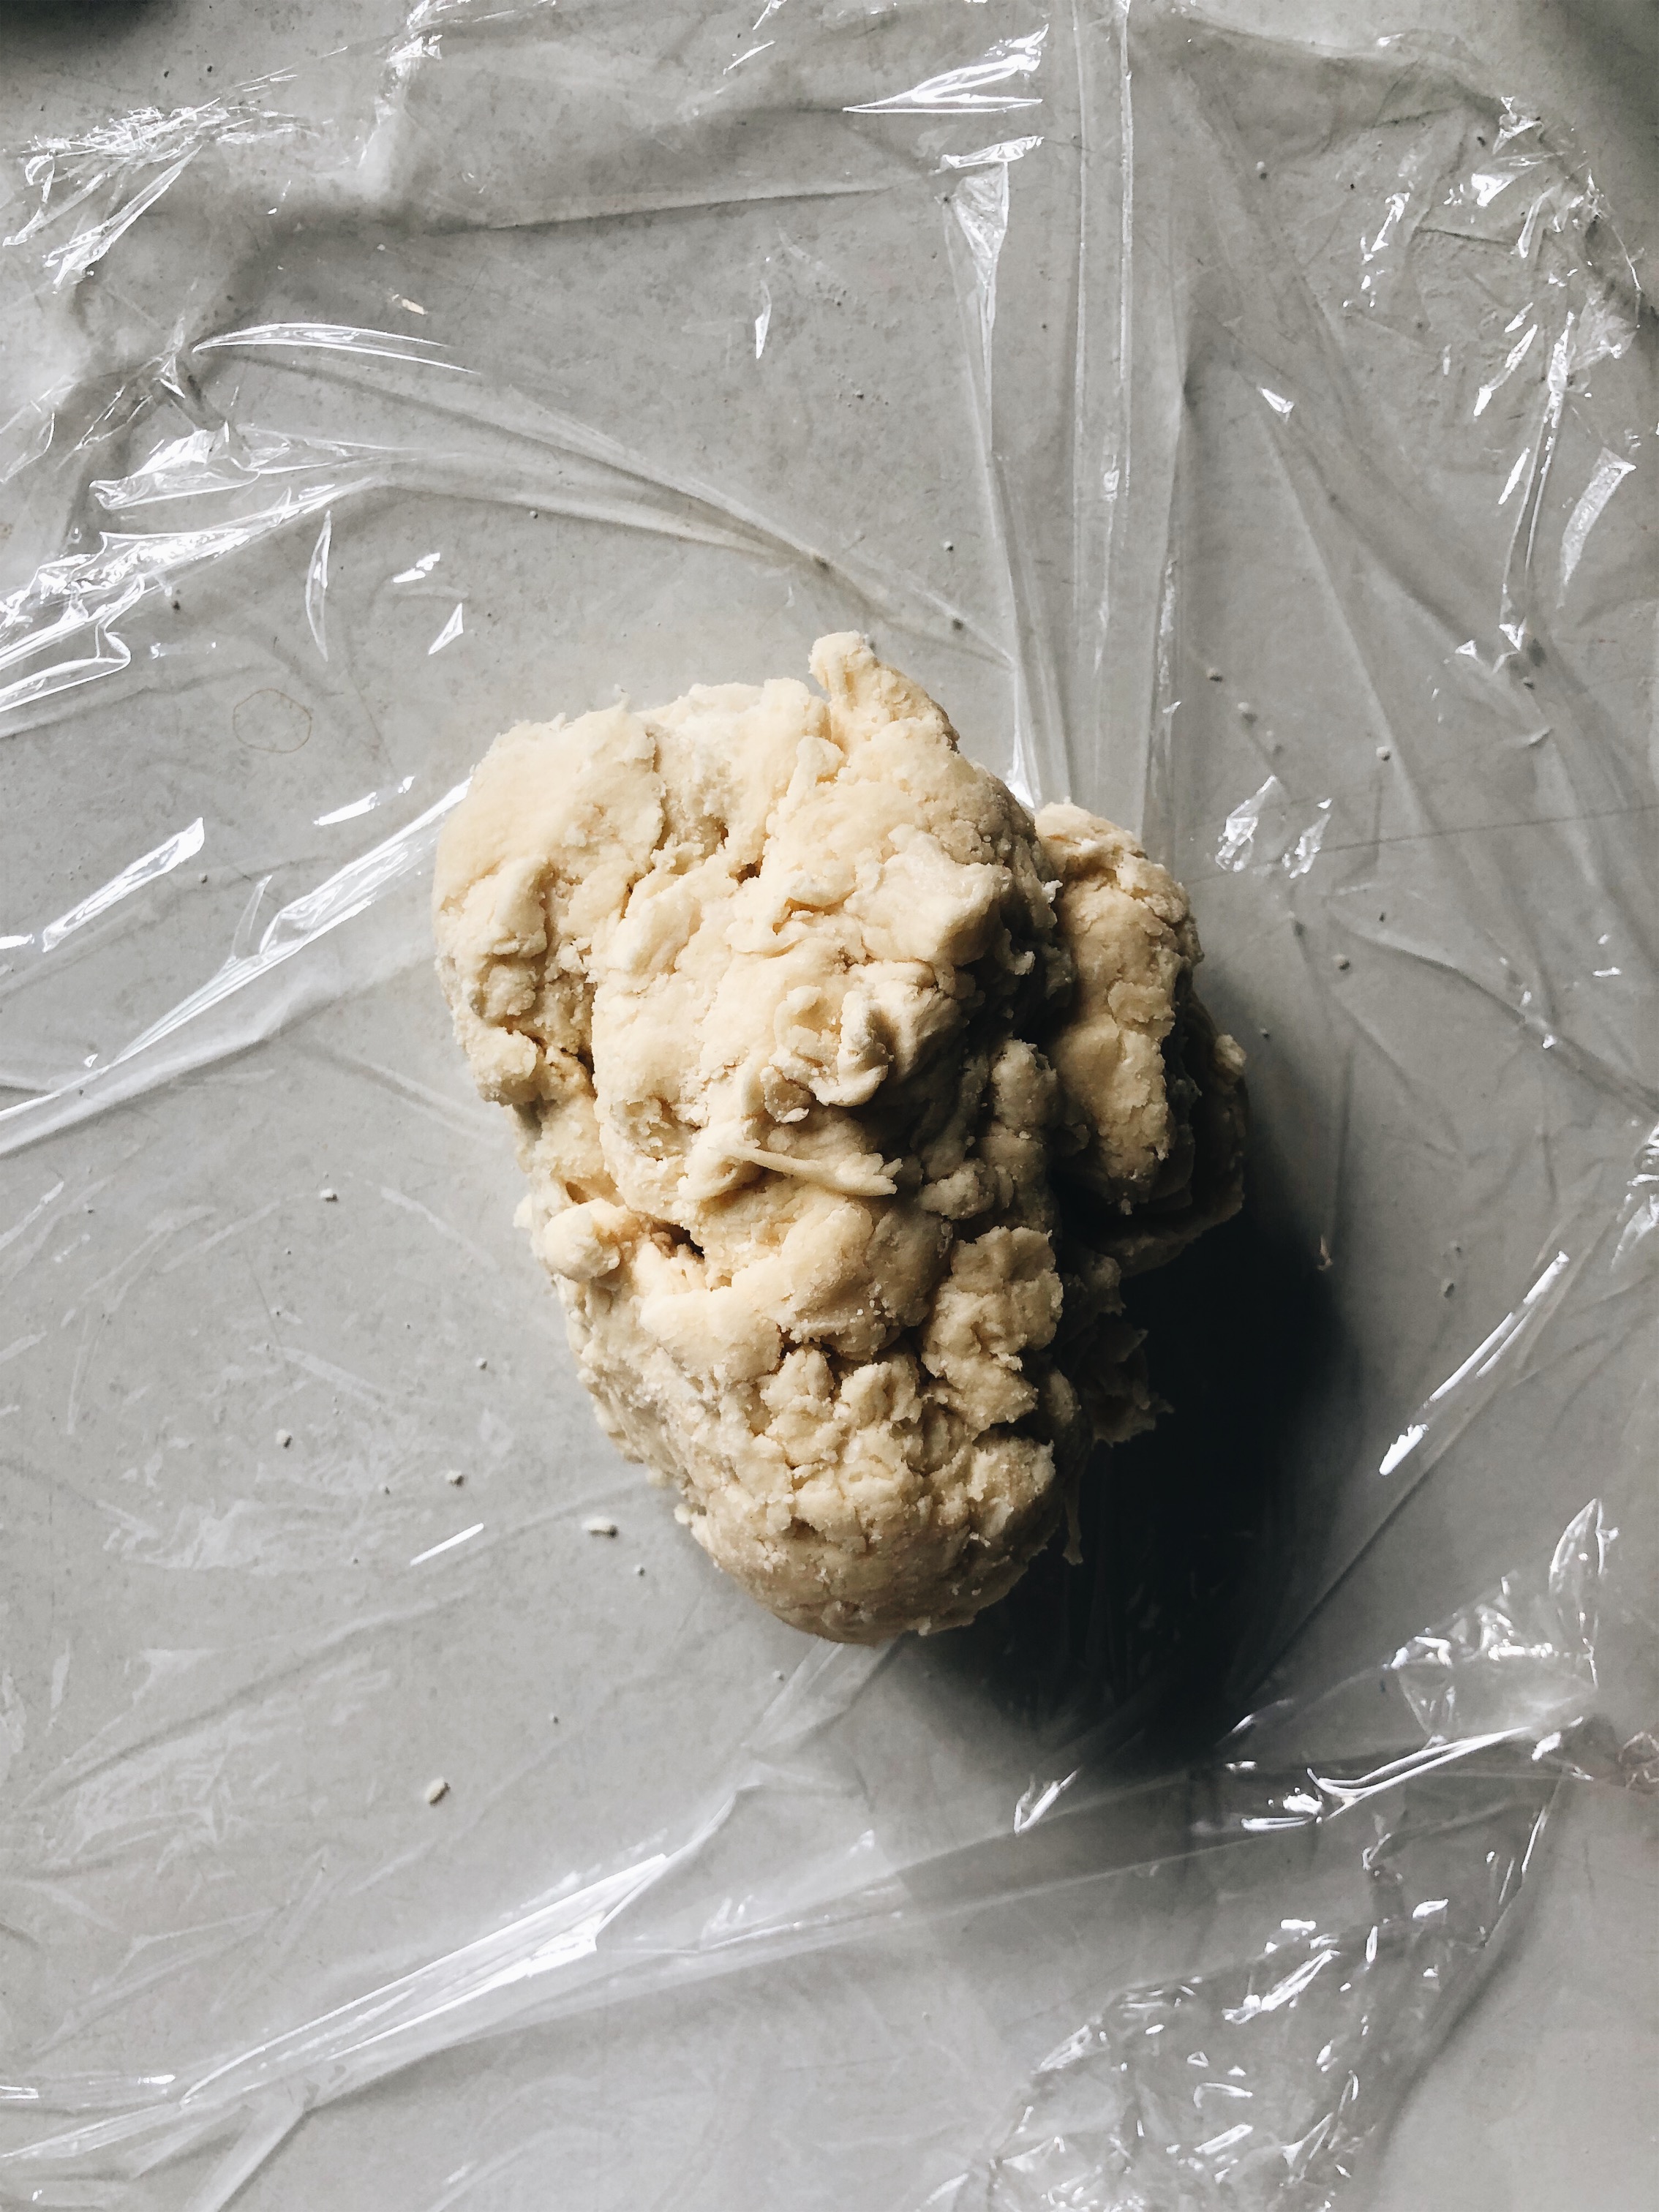
4. Gradually add the ice cold water to ensure a little more adhesion, but the end product will be crumbly
5. Throw into a plastic wrap and refrigerate for at least an hour
For the cherry filling, you will need:
10 ounces of frozen cherries (pitted)
1/3 cup of dried cherries
1/4 cup of sugar
1 1/2 tablespoons of corn starch
1 tablespoon of cold water

Combine the corn starch with the water and stir until dissolved
Add all the cherries and sugar into a small pot and combine the corn starch mixture by bringing to a boil
Frequently stir! Ensure no sugar is stuck to the bottom of the pot, which will burn and continue to stir until you have reached a very thick, glossy consistency (much like a pie filling)
Allow to cool to room temperature
Assembling the Pies
You will need:
A biscuit or circle shaped cookie cutter
A brush
A rolling pin
Parchment paper
Two cookie sheets
1 large egg
Flour
1. On a clean surface, sprinkle a layer of flour and roll out the dough, not working it too much
2. Cut out as many circles as possible, resulting in an even number of circles
3. Line the cookie sheets with parchment paper and lay out the first layer of pie circles. Leave a bit of space between each circle but they are unlikely to spread outward
4. Add a dollop of cherry filling in the center of each circle (I had about four cherries in the center)

5. Scramble the egg and brush the wash along the edges of the circle before adding a second layer of pie crust to close the pie. Use a fork to seal the edges and a knife to cut an “x” for venting
6. Use the brush again to apply an egg coat the outer layer of the pie

The only thing missing from this photo is the “x” cuts for venting (I forgot initially!) Don’t make my mistake!
7. Place the cookie sheets into the fridge to chill for another 30 minutes. This step is essential because cooling the dough will ensure solidified layers of fat, creating a flakey texture!!!! You should also preheat the oven to 375 degrees Fahrenheit at this point.
8. Bake the pies for 30 minutes and allow to cool before enjoying (: