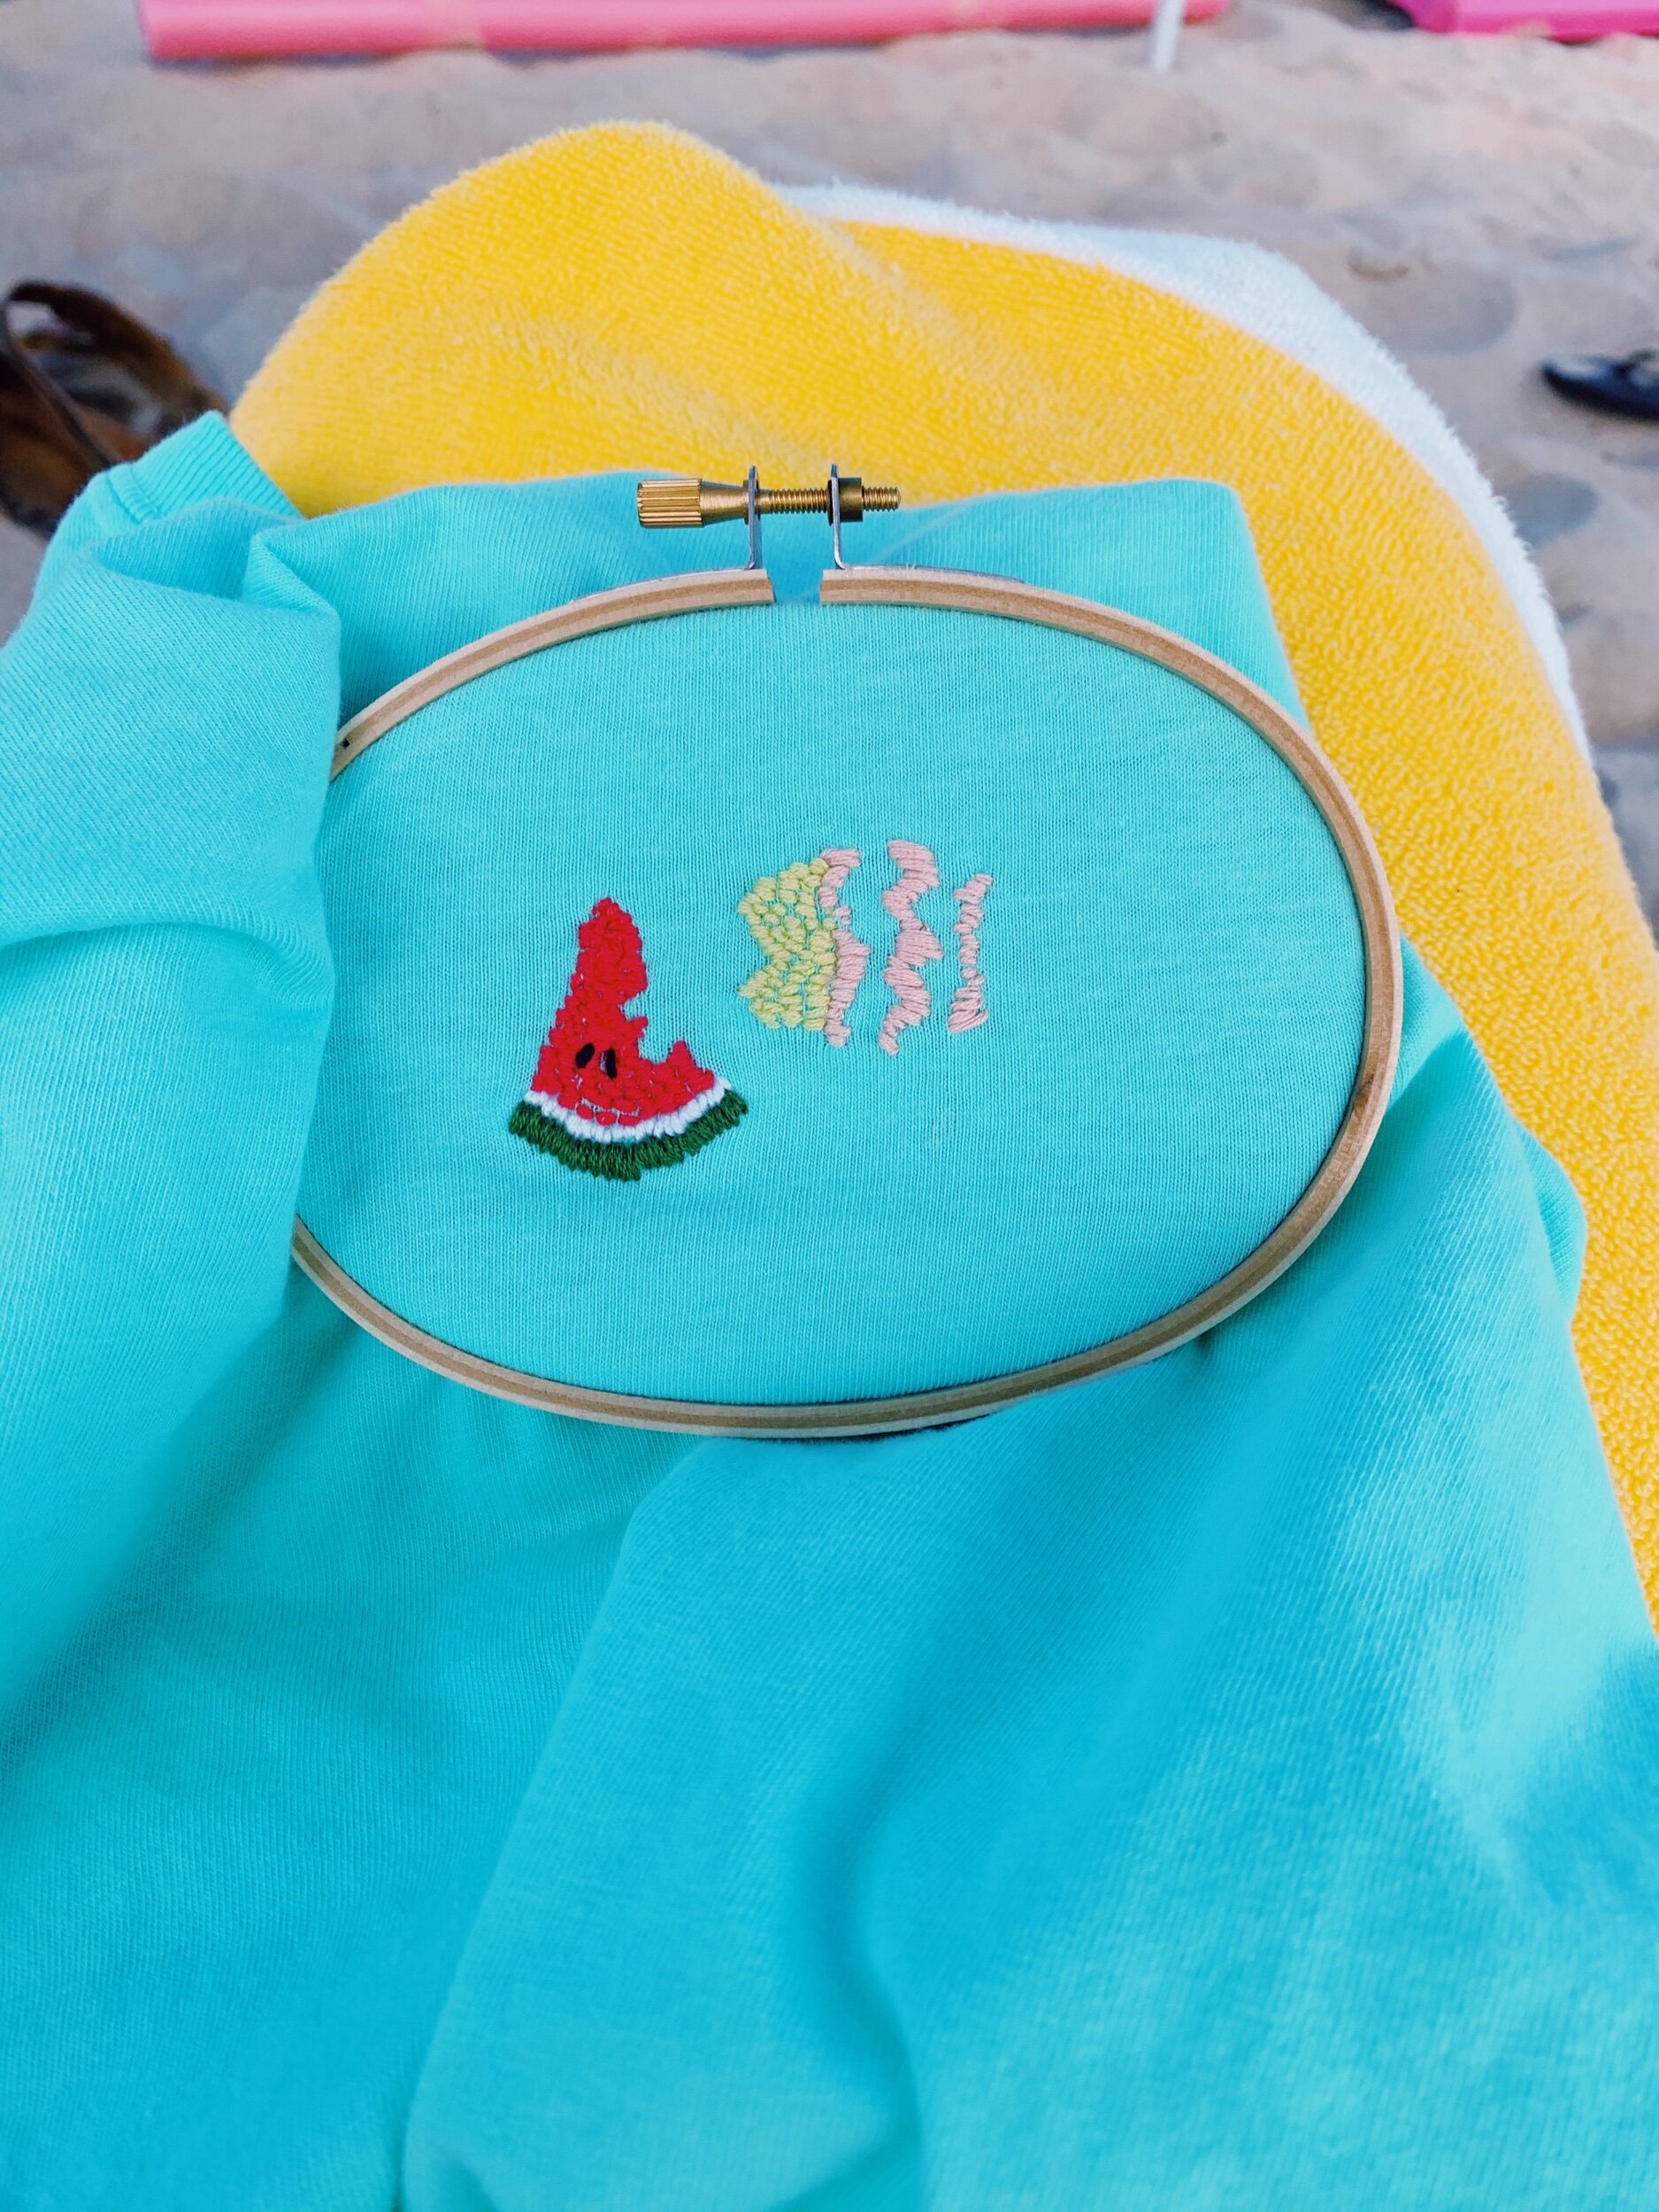
Quarantine Activities: Let's Embroider!
In this quarantine series, I have a ton of fun at-home self-isolated DIY activities that will hopefully make social distancing a little more productive/rewarding/aesthetic. All craft materials can be found online so no need to scour the store for these items (though I highly doubt they’ll be the top of most people’s quarantine grocery list). If you have one, grab your isolation buddy/roommate and let’s get crafty (:
The beauty of embroidery is in its simplicity - the materials are affordable and requires very little skill. Though I have dabbled in embroidery in the past, I’ve never received formal instruction and I find this hobby to be fairly intuitive. I love embroidery because it creates a textural component to the fabric that you embroider on. It’s like drawing with a needle!
You’ll need:
an embroidery hoop - I used a small oval hoop for small designs but it is totally up to you!
needle - I picked one with a larger eye so I had an easier time threading it
an assortment of embroidery floss - I picked a colorful pack from Amazon but this is also up to your preference
some sort of cloth to embroider on - you can use anything from a vintage napkin to a t shirt! as you work on this skill, you’ll find yourself wanting to test an assortment of fabrics to embroider on - I love bags, hats, and giant beach shirts (:
Tips
outline the design you want to create lightly in pencil - this will enable you to follow along with your needle
split the embroidery floss in half - you’ll notice that the floss is composed of 6 strings twisted together. splitting the floss will affect the thickness of the line you embroider and I like to use 3 strings as the standard. For thicker outlines, you can use the whole thread and less threads for thinner designs. Splitting the thread will maximize the amount of embroidery floss you have!
research different types of stitches - I use the running stitch typically and this is how I took on the majority of my designs. There are different stitches that you can utilize for “coloring” in space, creating leaves, or emulating textures, like fluffiness.
always ensure you are keeping the back of your embroidery designs clean- by this, i mean that you should be sure that you are snipping the ends of threads and fully pulling the floss through the back with each stitch. These little details will ensure the comfort and aesthetic of your design. It will also save you a lot of heartache from untangling and redoing threading!
remember, patience is key! There will be hiccups along the way like cutting threads, accidentally undoing a stitch, and very long designs to complete. Start with smaller designs and you can practice stitches on scrap fabric. As I’ve increased my comfort level with embroidering, I’ve been able to multi-task with watching TV, Youtube, or even relaxing at the beach! I find myself reaching for embroidery when it comes to personalization, gifts, and labeling. I love becoming self sufficient and this is one of my favorite ways to enhance the things I own.


